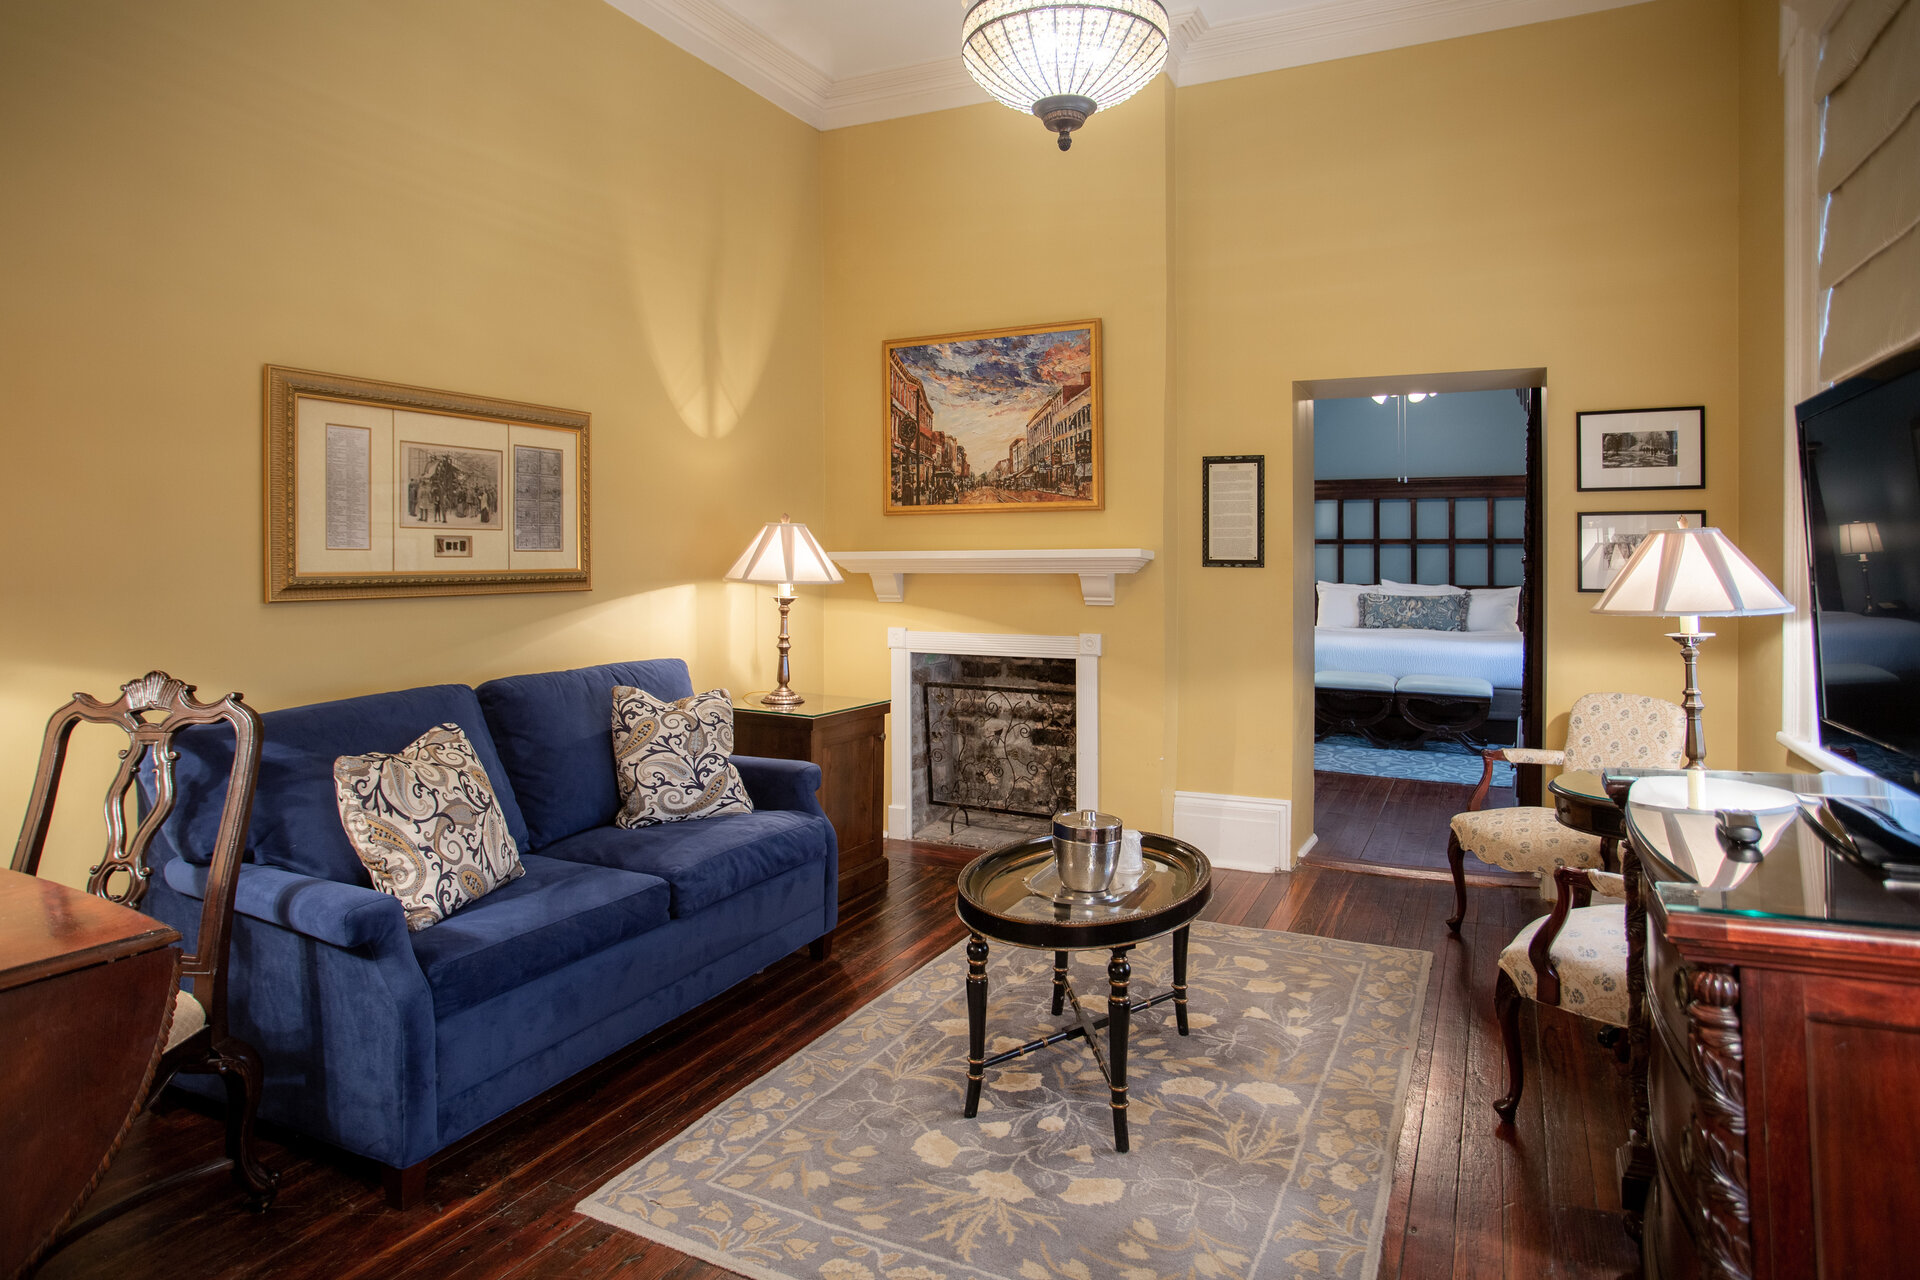
The Marshall House's Annual
PINEAPPLE CHRISTMAS TREE

A Holiday Tradition for More than 20 Years

The pineapple, the symbol of hospitality, is well-known and much-loved in Savannah, Georgia.   At The Marshall House, we’ve been decorating our Christmas tree in this style since just after the hotel was renovated in 1999. 

Book a stay with us and experience Savannah this Christmas!

BOOK YOUR STAY


HOW TO DECORATE YOUR OWN PINEAPPLE TREE

The Marshall House's annual Pineapple Tree is a tradition.  Here's a How-To-Guide for guests who’d like to replicate the tree at home.


WHAT YOU'LL NEED

*  A real tree.  The more round, the better.

*  Garden tools (loppers and hedge trimmers for shaping the tree)

*  600-1000 white lights

*  The net (instructions below)

*  Approximately 45 golden ball shatterproof ornaments (hot glue 3 ornaments together in a cluster, repeat with all ornaments)

*  12 large real sago palm fronds

*  Six to 10 small artificial sago palm fronds (optional, but helpful as they are flexible and help make a realistic topper)

*  Green and golden pipe cleaners

*  A hot glue gun

HOW TO MAKE THE NET

The key for preparing the net is selecting a good quality of the cord/piping.  While it can be done with thin, less expensive cord, a thicker piping makes a much more elegant end product.   For The Marshall House’s large tree, we purchased 320 yards of drapery piping at an art & crafts store.

1.   Measure a doubled-strand of piping against the height of your tree.  Your piping strands need to be twice as long as your tree is tall, so run the piping from the bottom of the tree, to the top and back again.  Cut the piping.  Repeat 16-24 times, depending on your tree size and thickness.

2.   With the piping folded in half, begin with a knot at the center point, forming a loop.  Later, these loops will be tied together to cinch the net in place on the tree.

3.   Continue tying the knots in the double strands, approximately every 12 inches. If your tree is smaller you might want to adjust the spacing of the knots.

4.   Lay two strands next to each other and attach them with pipe cleaners. Continue to attach strands together until you have used all of your cords.  Do not worry if you think the net looks very messy and boring on the floor.  It will look great once it is on the tree!

HOW TO INSTALL

1.   Cut the top of your tree off. 

2.   Start trimming the tree to get the typical pineapple shape.  You want to cut off all the longer tips as well a good amount around the bottom.

3.   Once you are happy with the tree’s new “pineapple-like” shape, string the lights to your liking.

4.   For the pineapple crown, start by twisting 2-3 green pipe cleaners together end-to-end to create a long piece for tying the palm tree fronds together.

5.   Take 2-3 of the longer real sago palm fronds and tie them straight to the top. Keep connecting more pipe cleaners while you tie additional fronds to the tree.  We used artificial fronds as well, especially along the bottom, because they can be manipulated to achieve a more authentic pineapple crown.

6.   Next, lay the net on the floor, and pull some extra piping through the loops at the top of the tree.  Then, drape it around the tree.  The key is to have a few additional hands to help.  While the net can be stretched out a little bit, it cannot be pulled too much. It is important to get it over the tree evenly.  Tie it right underneath the crown.  Loose strings close to the floor can be used to tie these ends under the tree.

7.   For the final touch attach the ornament clusters randomly.

Holidays at The Marshall House

Join Our Mailing List!

Join Our Mailing List!


Historic Inns of Savannah

Sign Up for Our Emails &
Get a FREE Download of "Planning Your Upcoming Visit to Savannah"

Whether it's your first or 15th visit to Savannah, we have just the book to help you organize your stay here.  Signup to receive our email newsletters and special offers, and get access to our latest PDF Guide Book:  Planning Your Upcoming Visit to Savannah, a 37-page e-book filled with insider tips and suggestions from the Concierges and Innkeepers of Historic Inns of Savannah.

Free E-book Planning Your Upcoming Visit to Savannah

Join Our Mailing List!